 |
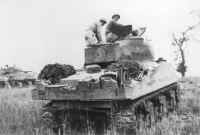
Tanks of 18th
Armoured Regiment approaching Guardiagrele in November 1943. The tank
in the foreground is notable for having very little in the way of
stowage on the back plate. The combination divisional insignia ñ unit
serial patch is displayed prominently instead.
|
 |
A Sherman III from
19th Armoured Regiment during trials with grousers in early 1945.
|
 |
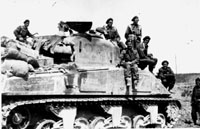
Sherman IIIs of 8
Troop, B Squadron, 20th Armoured Regiment outside their billets on the
Via Cicerone in Trieste in May 1945. The tanks are from left to
right: No. 14 (Corporal Ritchie), 13 (Sergeant Jarman) and 12
(Lieutenant Turner). By the latter stage of the war the aerial
recognition symbol was more commonly found on the turret roof as it
was easily obscured by the clutter of gear stowed on the engine decks.
|
 |
A Sherman III of 18th Armoured Regiment in Italy
completed in the standard early scheme of mud grey overpainted with patches of
blue-black. The tank number is in the standard unit pattern of red with a white
'shadow'.
|
 |
9
Troop, of C Squadron, 19th Armoured Regiment in position on Route 16
south of Rimini airfield on the 18th of September 1944.
|
 |
Ken
Brown's Sherman III, C Squadron, 19th Armoured Regiment in the Liri
Valley, 17th of May 1944.
|
 |
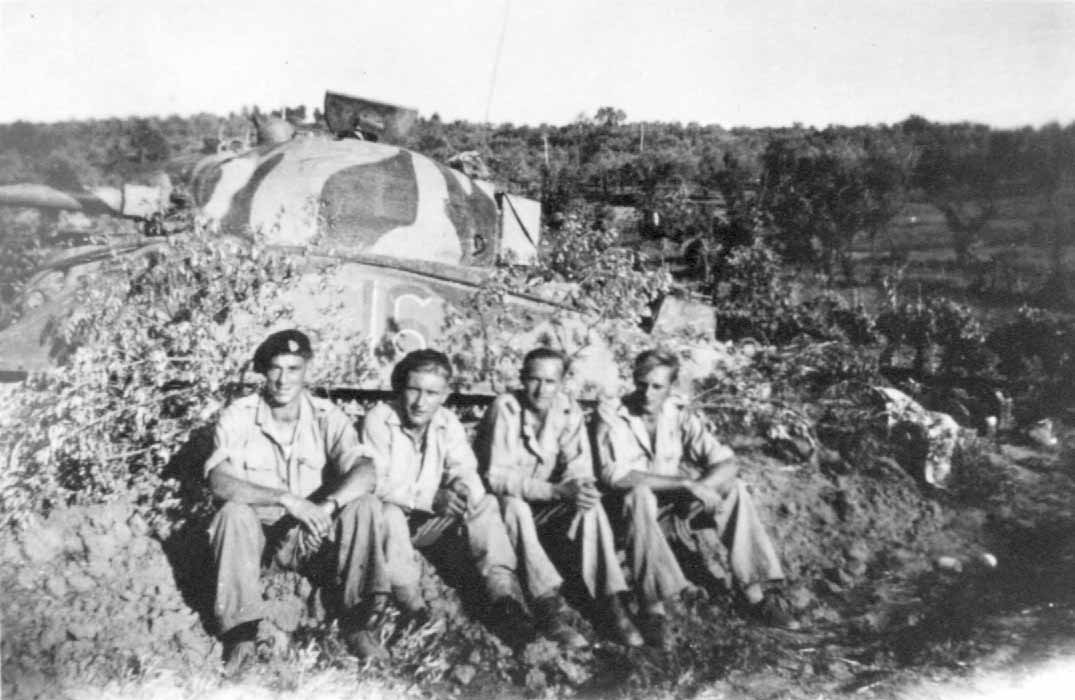
Rex
Causton and his Sherman III from C Squadron, 20th Armoured Regiment at
Bellaria, October 1944. Note the white outline around the turret
insignia and the unit serial on the driver's front plate.
|
 |
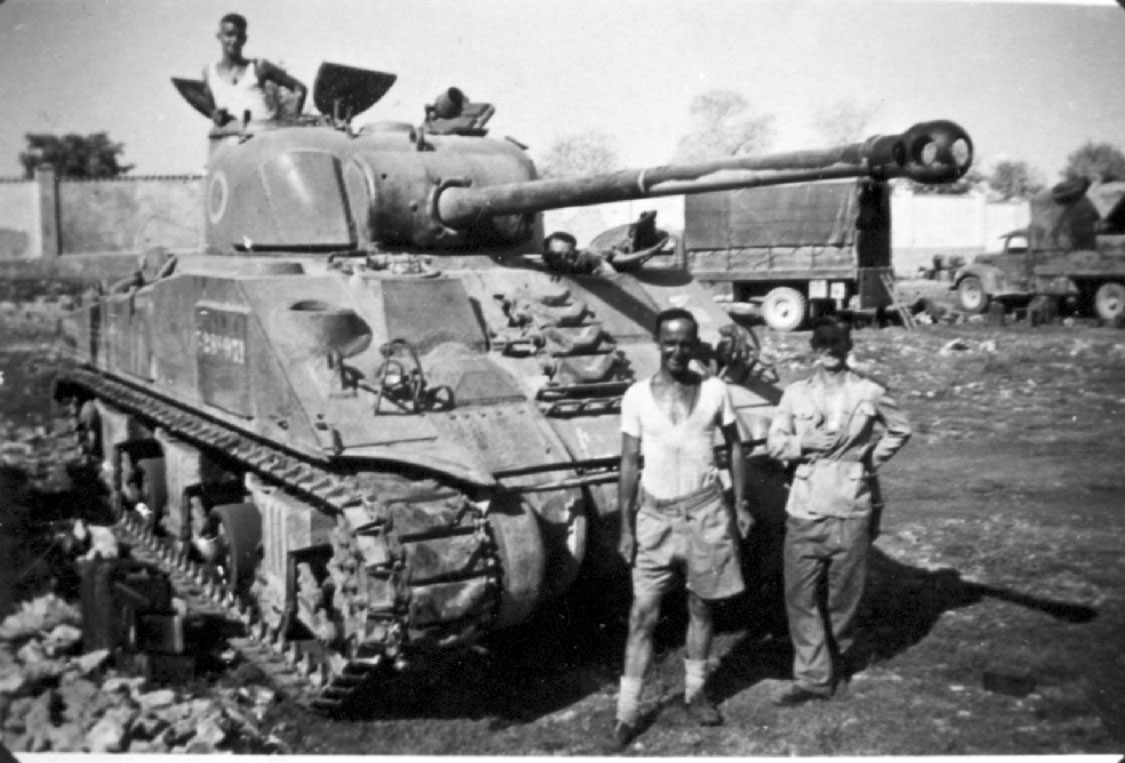
A 17-pounder Sherman from C Squadron 20th Armoured
Regiment during final drive through the Po Valley. This is the VC version
of the tank. Note the countershading under the front half of the barrel. |
 |
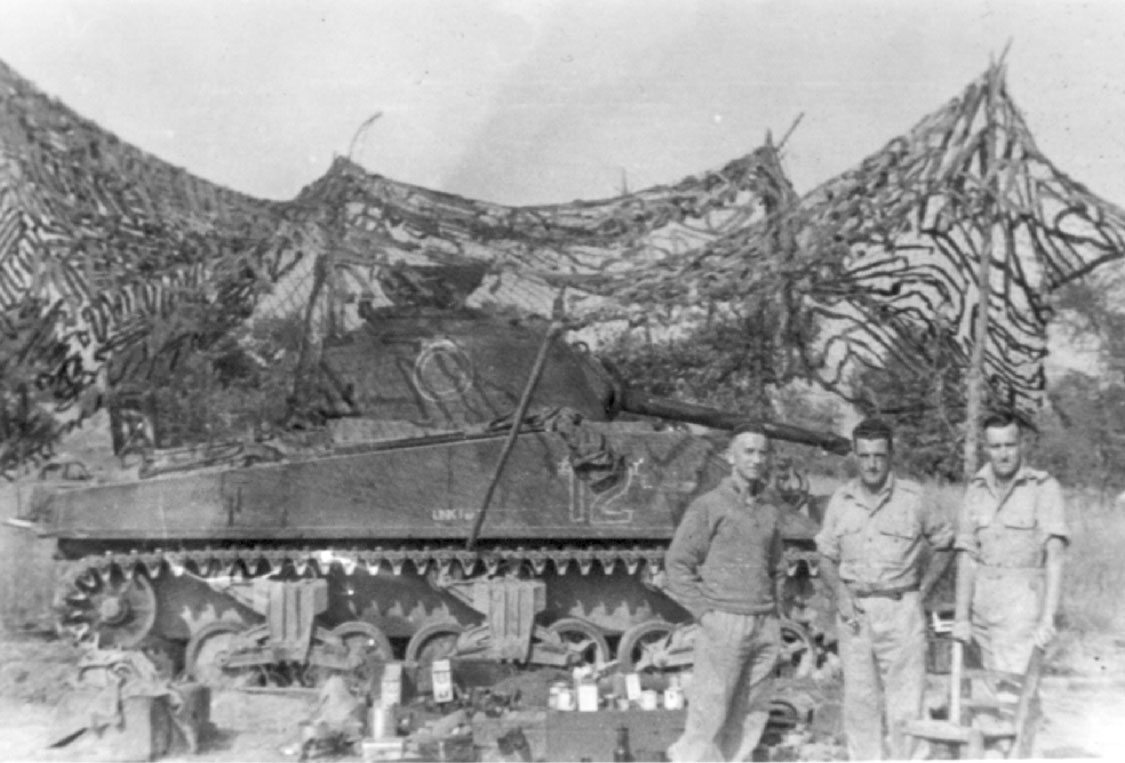
A M4A2 Sherman under a camouflage net around the time the
units were at Cassino. The outlines to the Squadron insignia and the vehicle number suggest that this tank is from 20th Armoured Regiment. |
 |
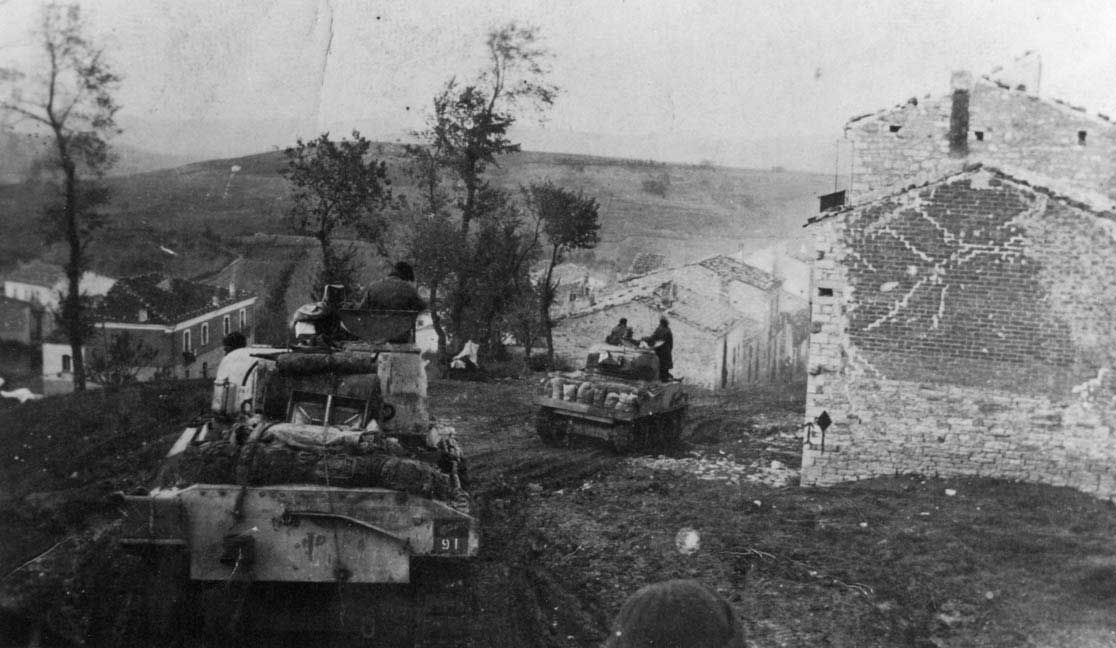
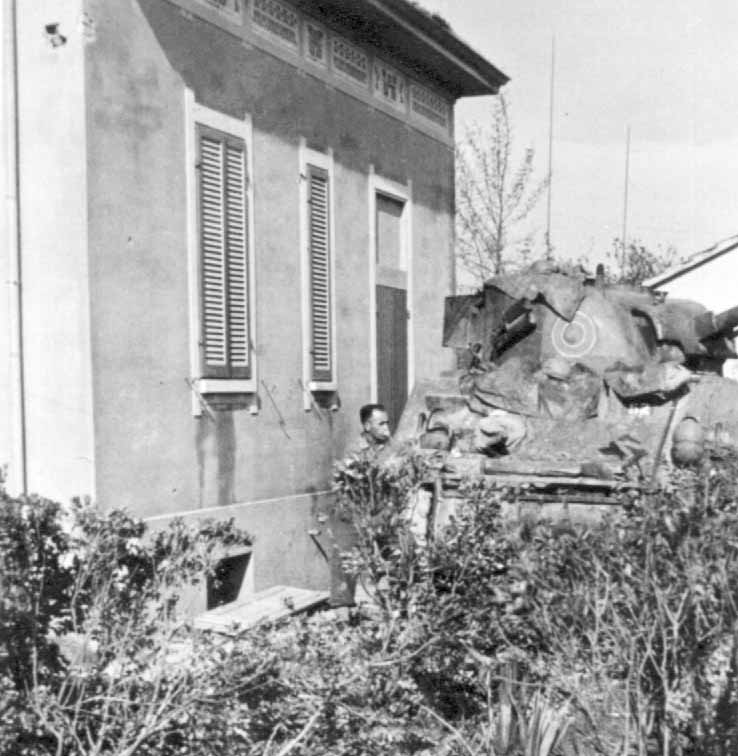
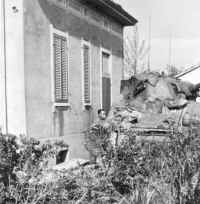
A C Squadron Tank of 18th Armoured Regiment
waiting to cross the Po River. Vehicles of this regiment were notable for employing
this particular style of hull callsign number, presumably in the unit colour red with a
white shadow behind. The unit serial number was 91.
|
 |
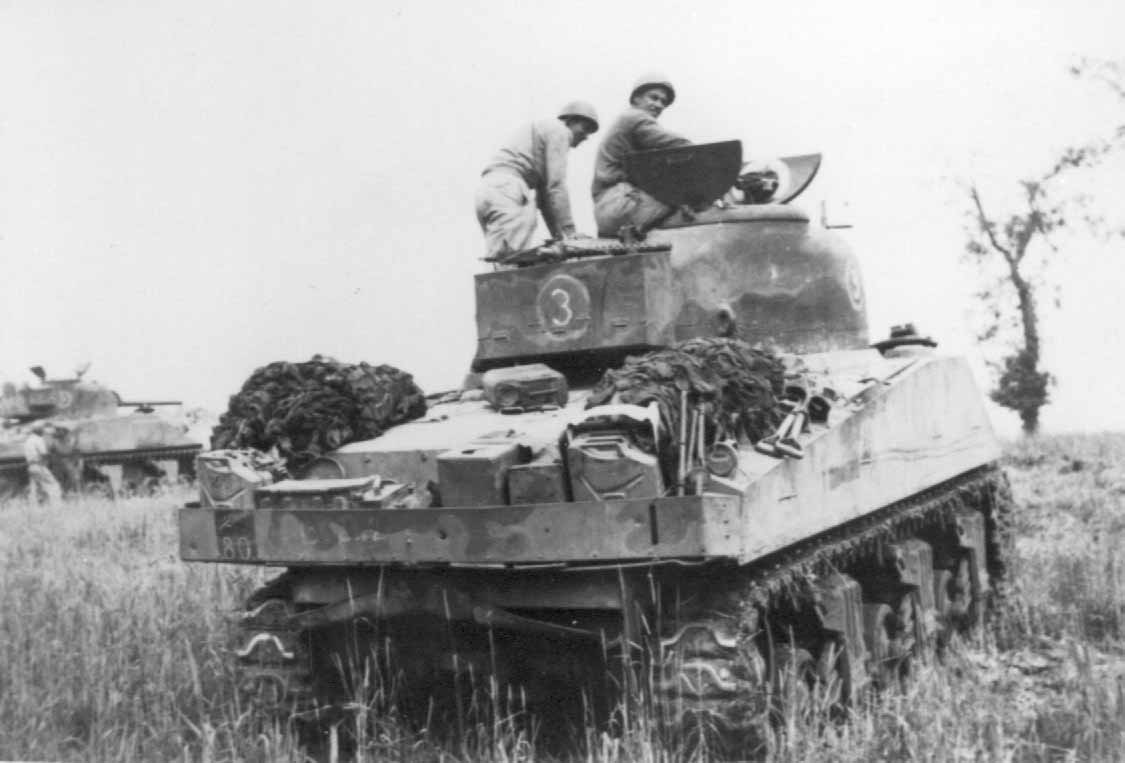
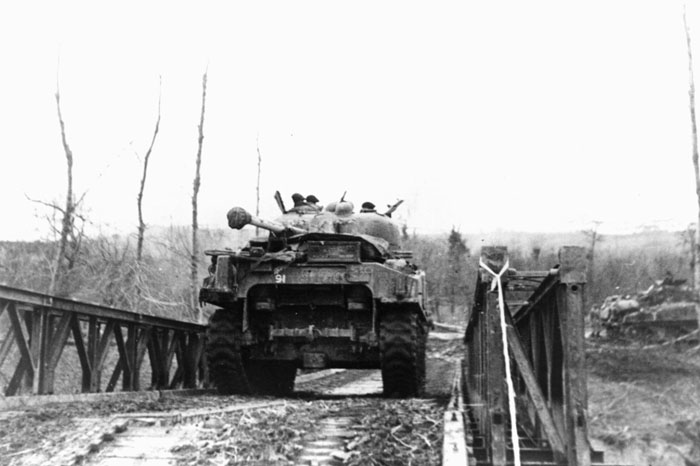
A Sherman crossing a bridge somewhere in Italy in
1944. The unit is unknown but believed to be 19th Armoured as C Squadron from this
unit appears to be the only ones to have also painted the Troop number inside the squadron
insignia. This being the case the squadron insignia would have been yellow and the
troop number white. The unit serial for 19th Armoured was 80. |
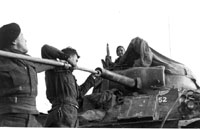 |
A crew of a 20th Armoured Regiment Sherman cleaning the
gun barrel while the unit was stationed near Faenza in December 1944. In the Italian
campaign the unit serial patch and divisional insignia were combined and usually painted
on the transmission housing inside the unit serial patch colour, but there are always
exceptions.
|
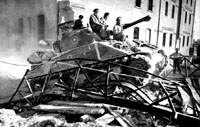
 |
A Sherman IC Firefly of 18th Armoured Regiment crossing a
Bailey Bridge in Italy in 1945. Note the use of counter-shading in white under the
front half of the 17-pounder barrel.
|
 |
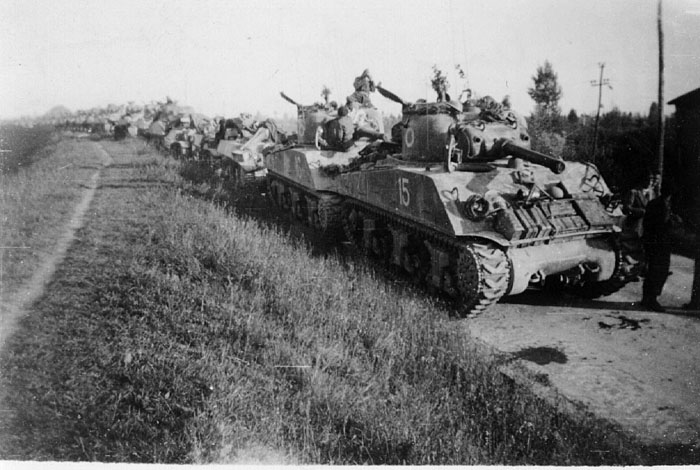
A line of Shermans C Squadron 20th Armoured Regiment
during the final advance on Trieste in April 1045. The lead tank, a M4A3 105 mm was
commanded by Major Moodie, OC C Squadron. By this stage of the war the command tanks
in the Squadrons tended to use the higher numbered call-signs.
|